
Can you really make a hat from an old burlap sack? Even one who is very chic?
Yes, you absolutely can!
One of the things I love most about sewing and costume making is looking at ordinary materials and seeing something completely different. A burlap sack may look like rubbish to one person, but to me it is the beginning of a new hat.
The best part? This upcycling project costs almost nothing. All you need is a burlap sack, some wallpaper paste, bias binding, and a hat block—or anything that has a similar shape.
Today I would like to show you how I made this handmade hat.
Blocking the Hat
The first step is called blocking. This is a traditional millinery technique that has been used for many years.
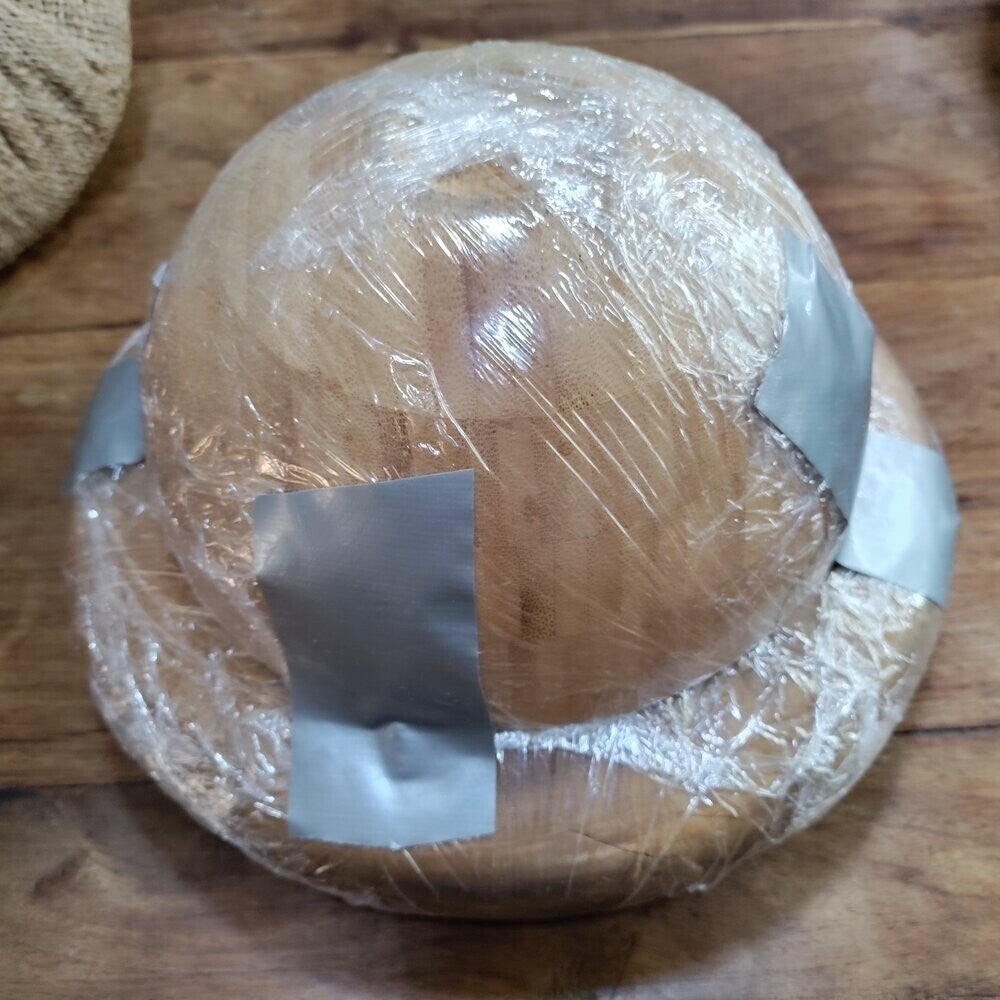
First, wrap your wooden hat block completely in plastic kitchen wrap. (If you do not have a real hat block, have a look at my blog about hat blocks. Many everyday objects can work surprisingly well.)
Next, soak the burlap thoroughly in wallpaper paste. Stretch the wet fabric over the hat block as smoothly as possible. Try to avoid wrinkles and pull the fabric nice and tight.
Professional milliners often use blocking pins. If your hat block is made from plastic or another material instead of wood, you can secure the fabric with strong tape or wire around the edge.
Now comes the hardest part.
Leave everything to dry in the warm sunshine for a full day.
Removing the Hat
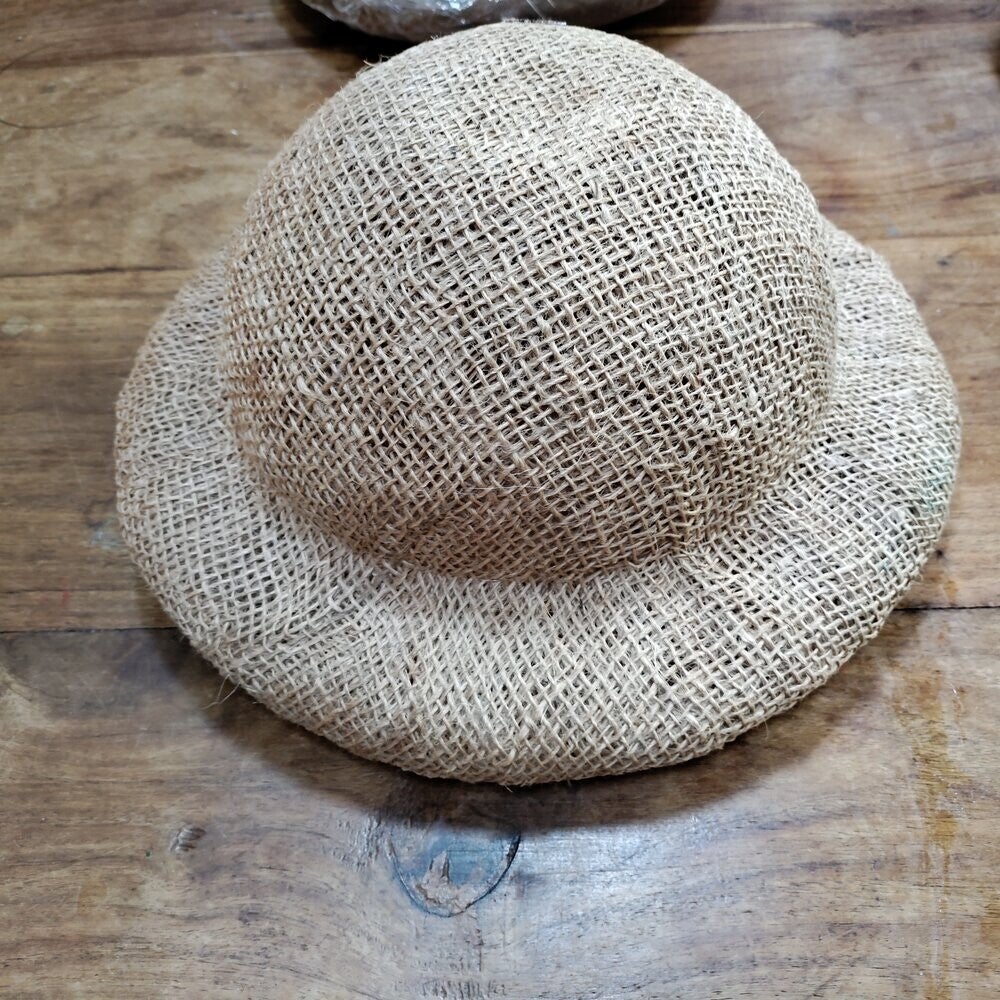
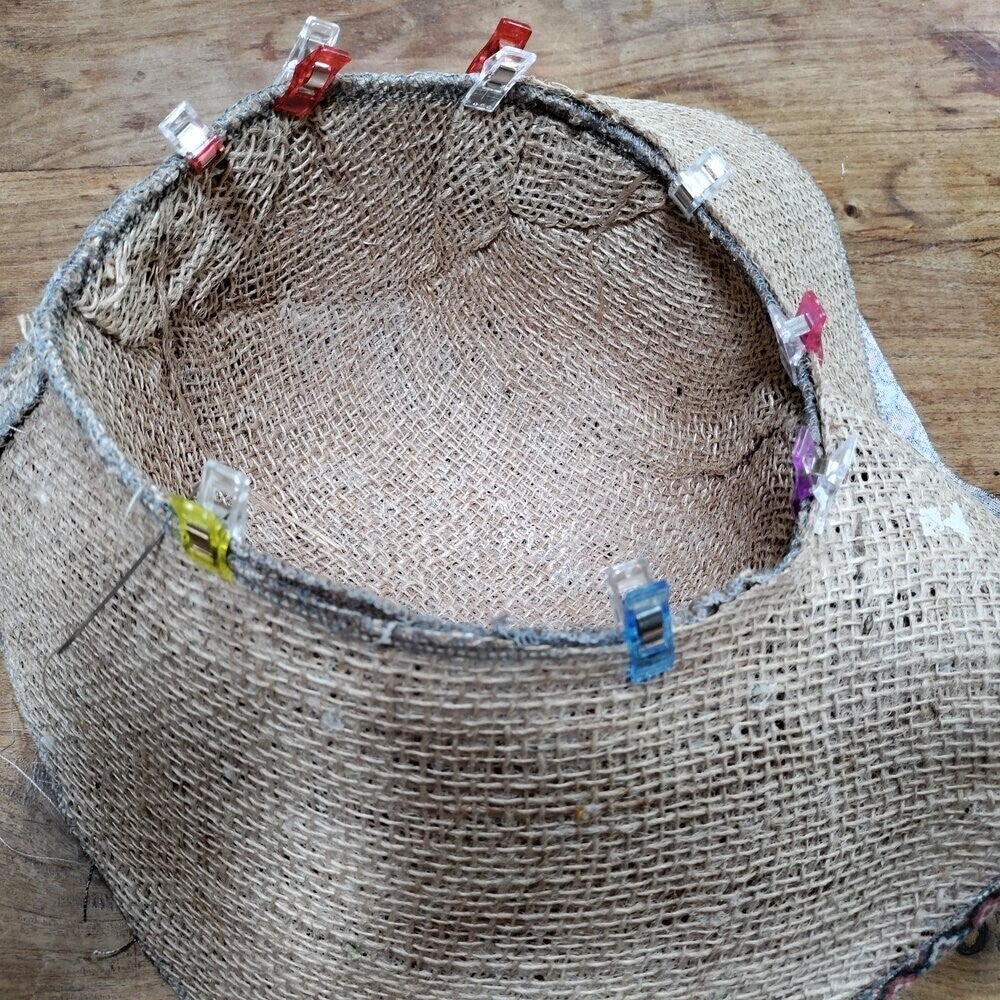
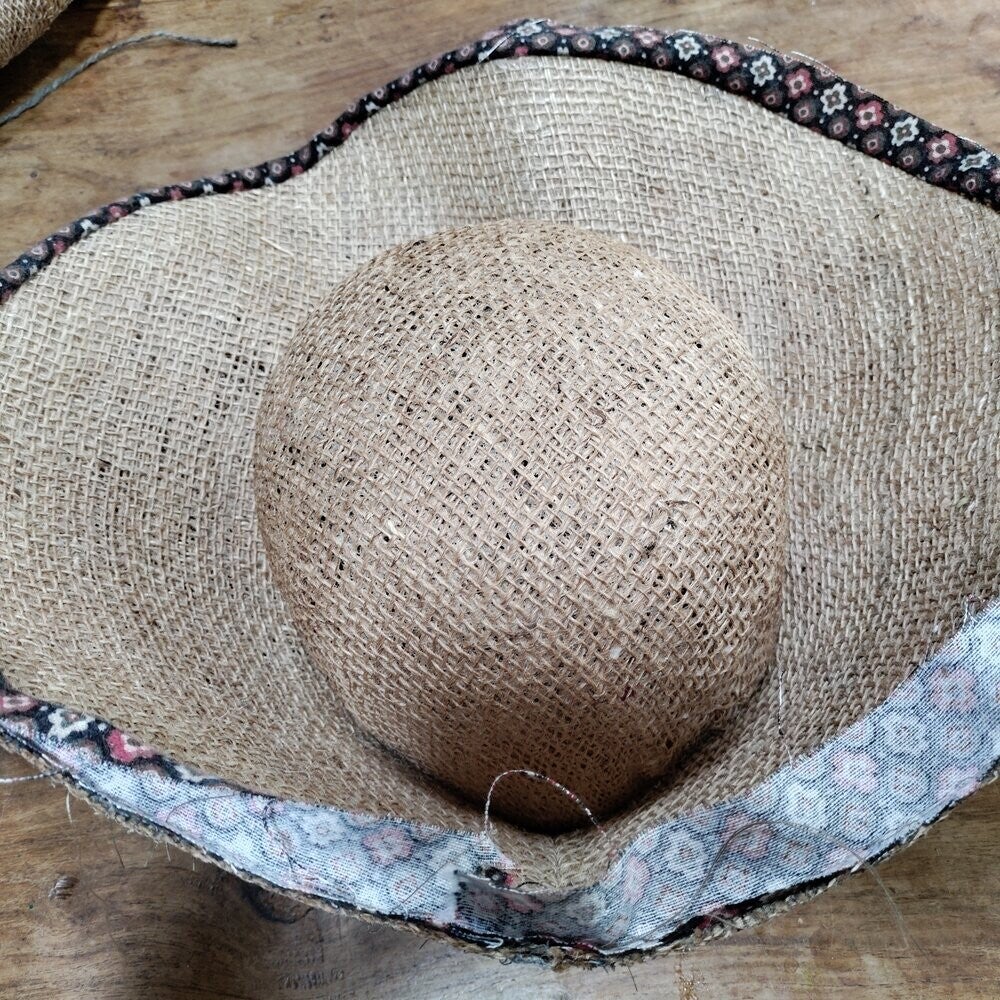
When the burlap is completely dry, carefully slide the crown off the block.
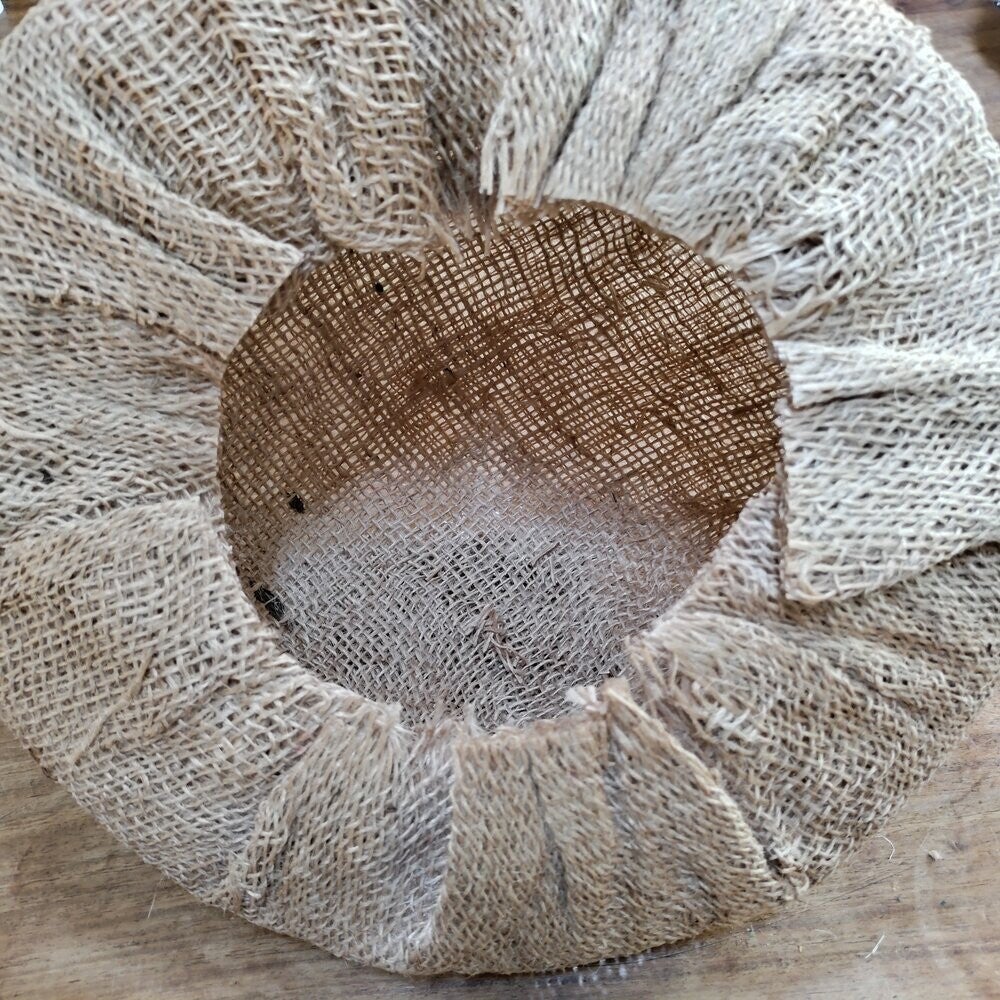
You will now have a beautiful rounded shape. Trim away the lower part until the crown sits comfortably on your head, just above your eyebrows.
Remember, you are making the top of a hat, not a tiny egg cup!
Making the Brim
For the brim I used an old sewing pattern: Vogue 7464, View A.
I traced the shape, adjusted it many times, and spent quite a while trimming, fitting and testing before I was happy with the result.
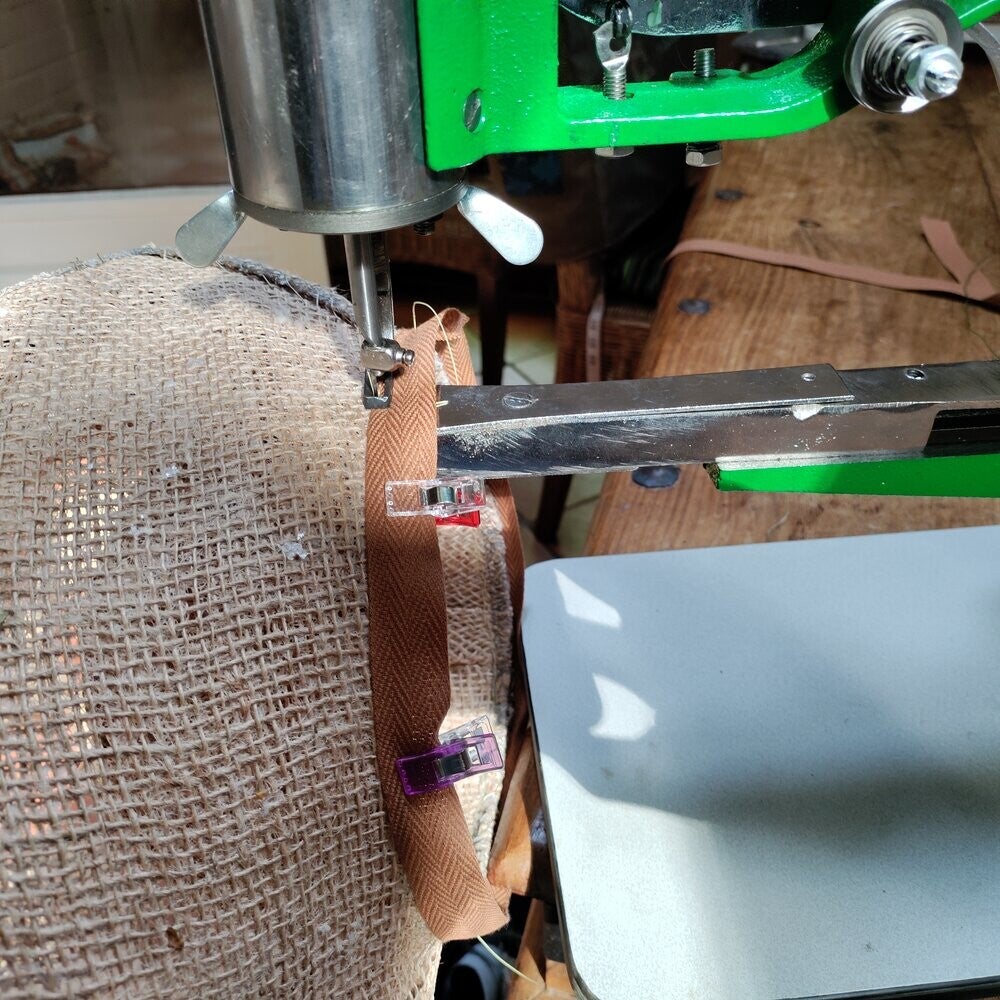
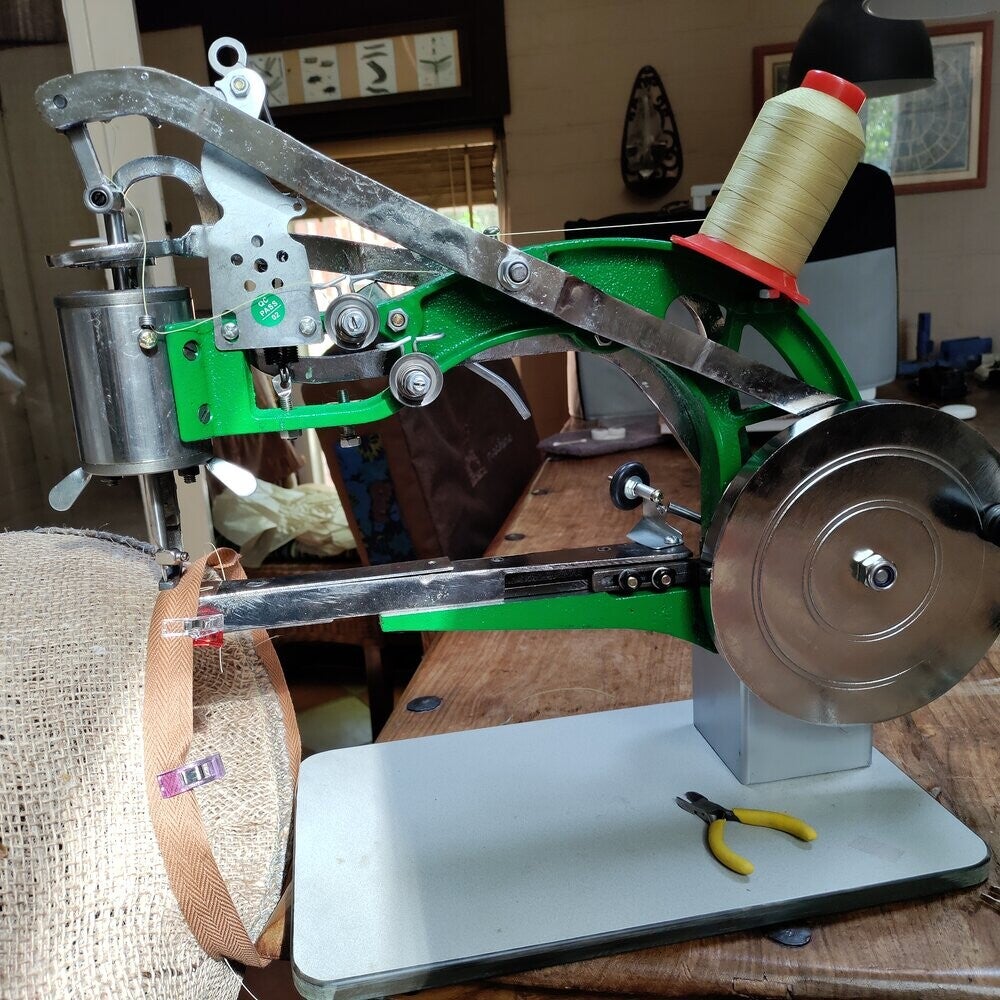
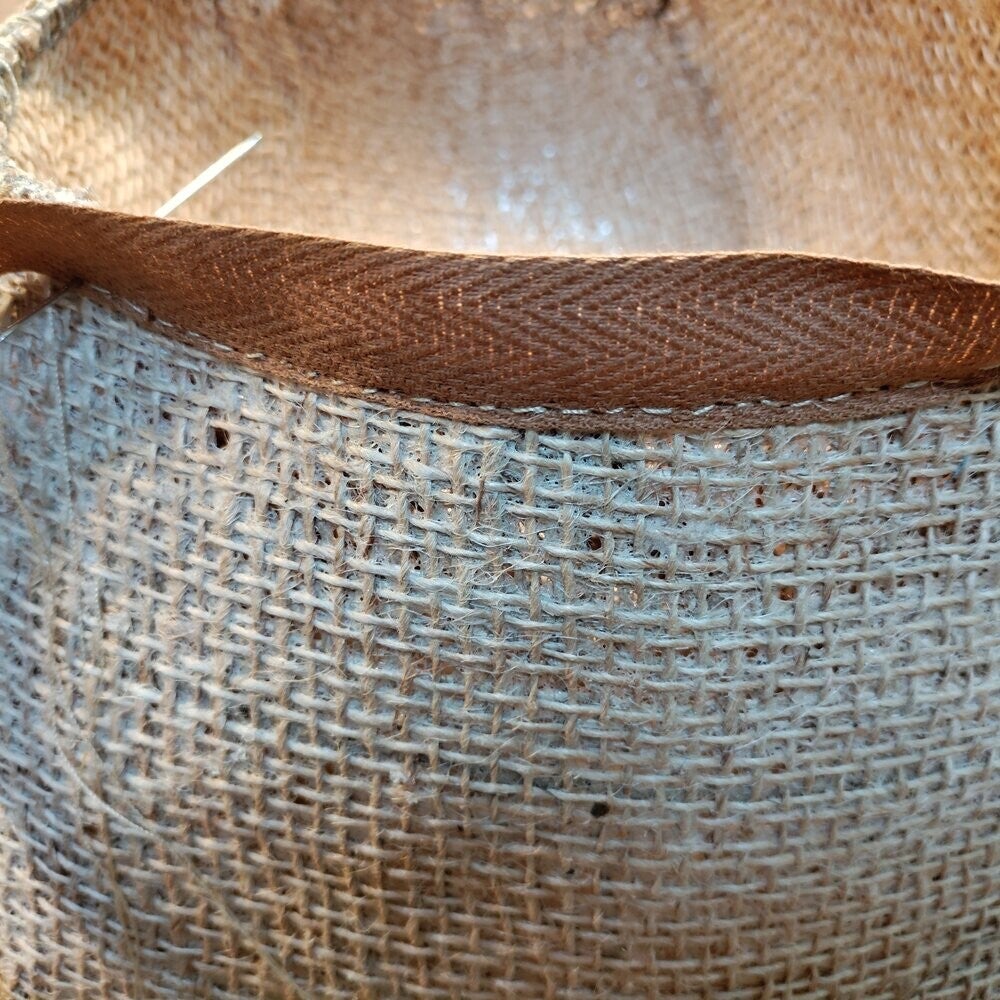
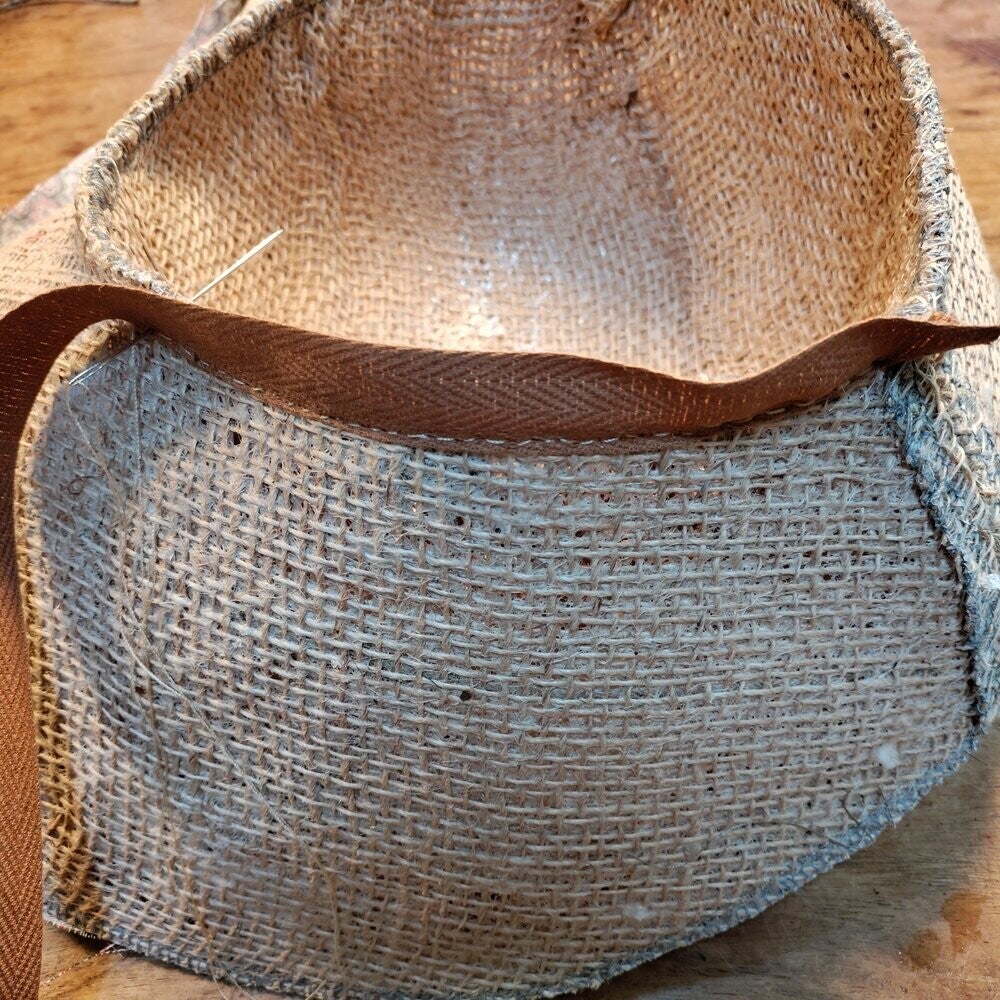
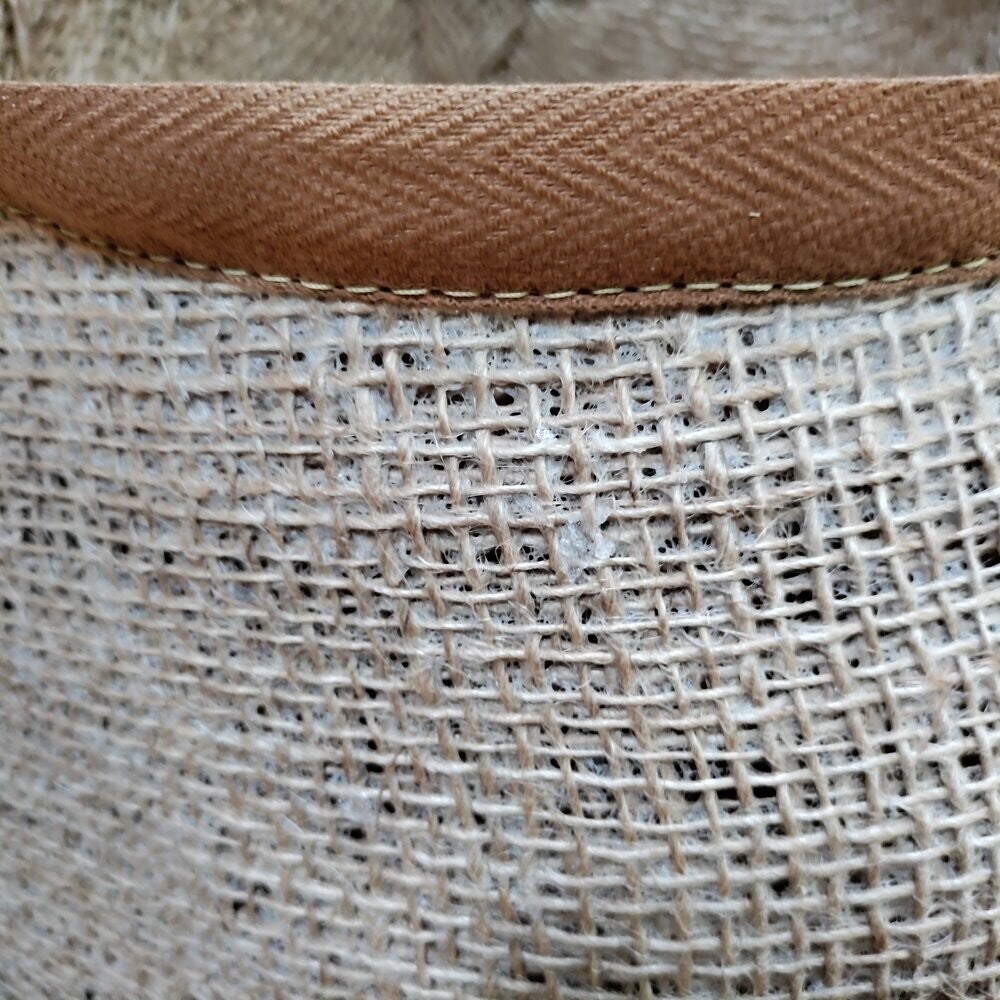
After attaching the brim to the crown, I sewed in a sweatband made from grosgrain ribbon.
Because the burlap becomes surprisingly stiff after drying, this part is much easier to sew by hand or with a heavy-duty leather sewing machine.
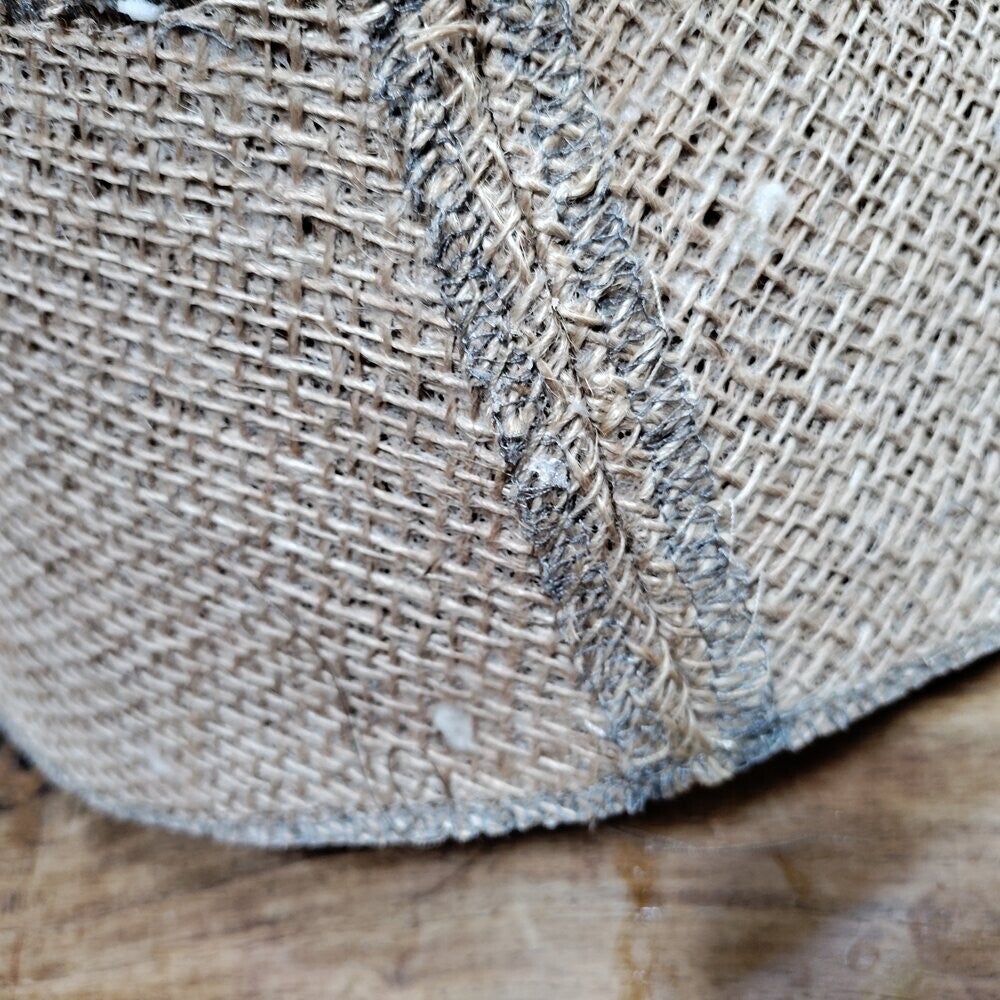
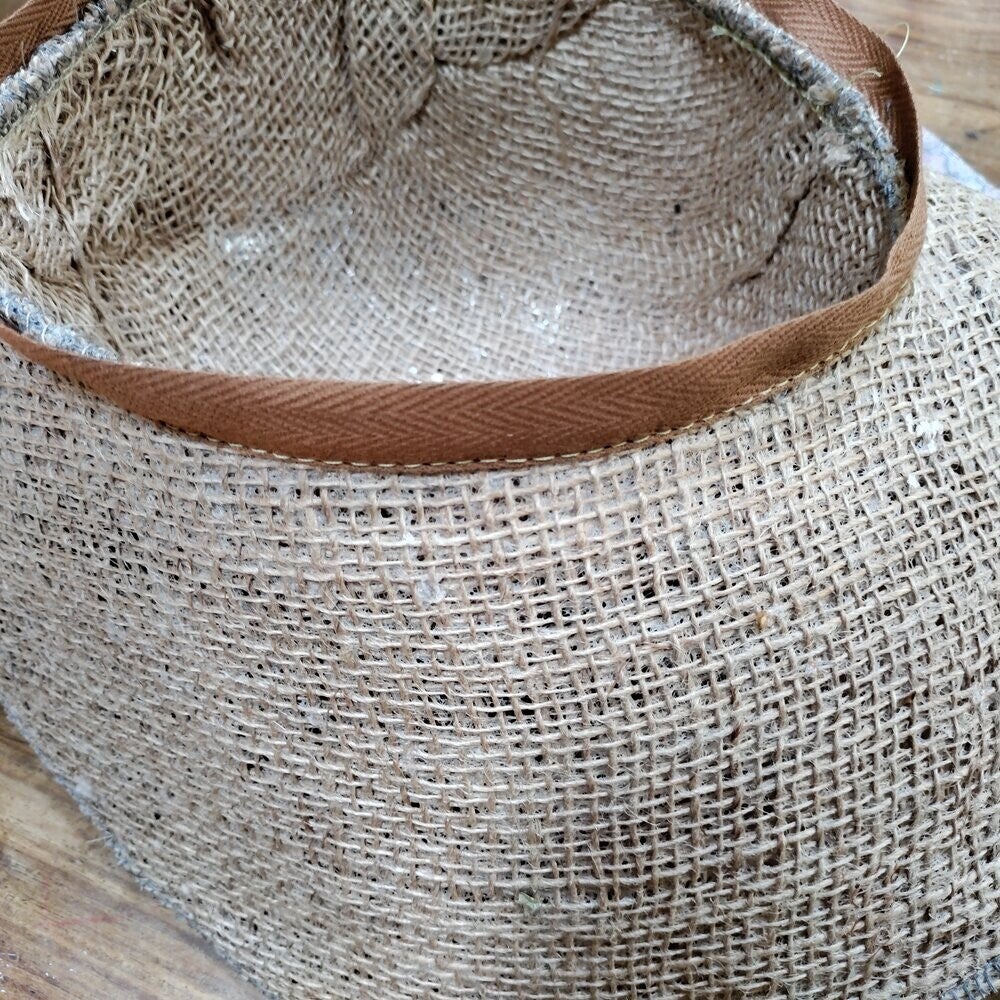
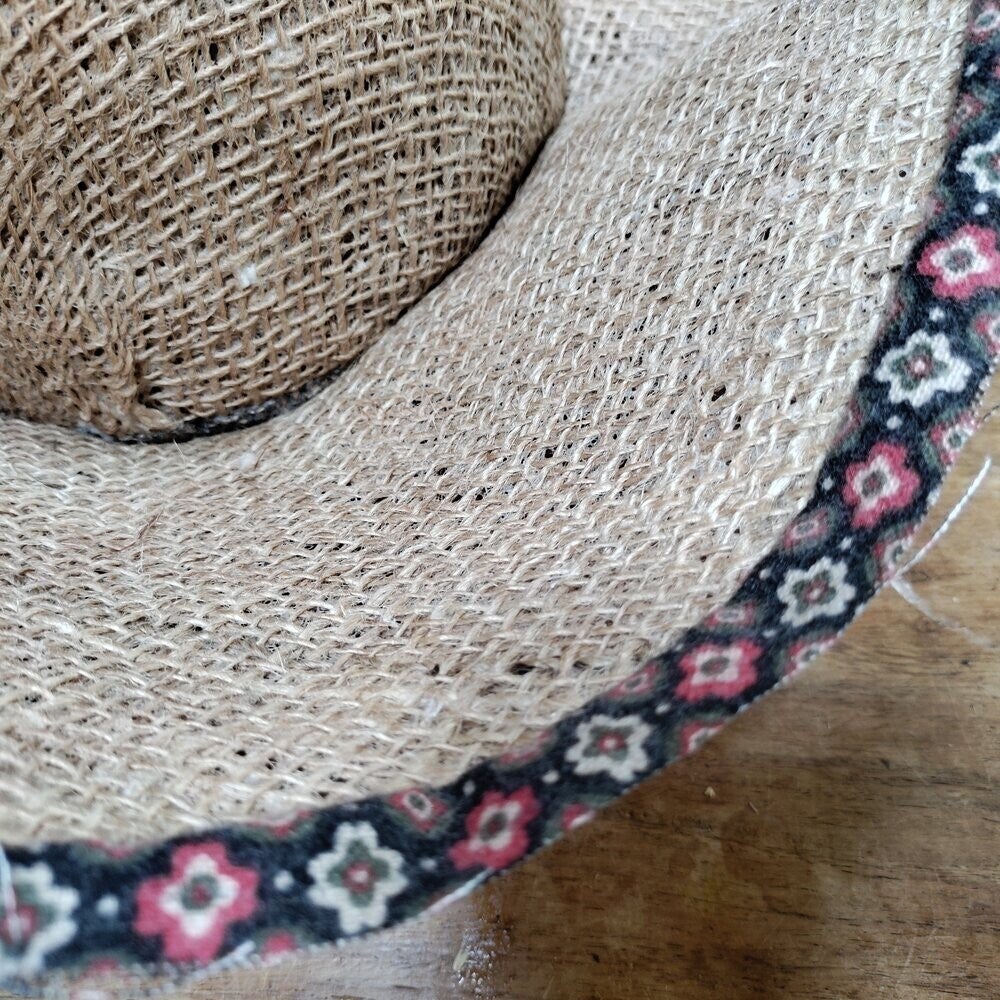
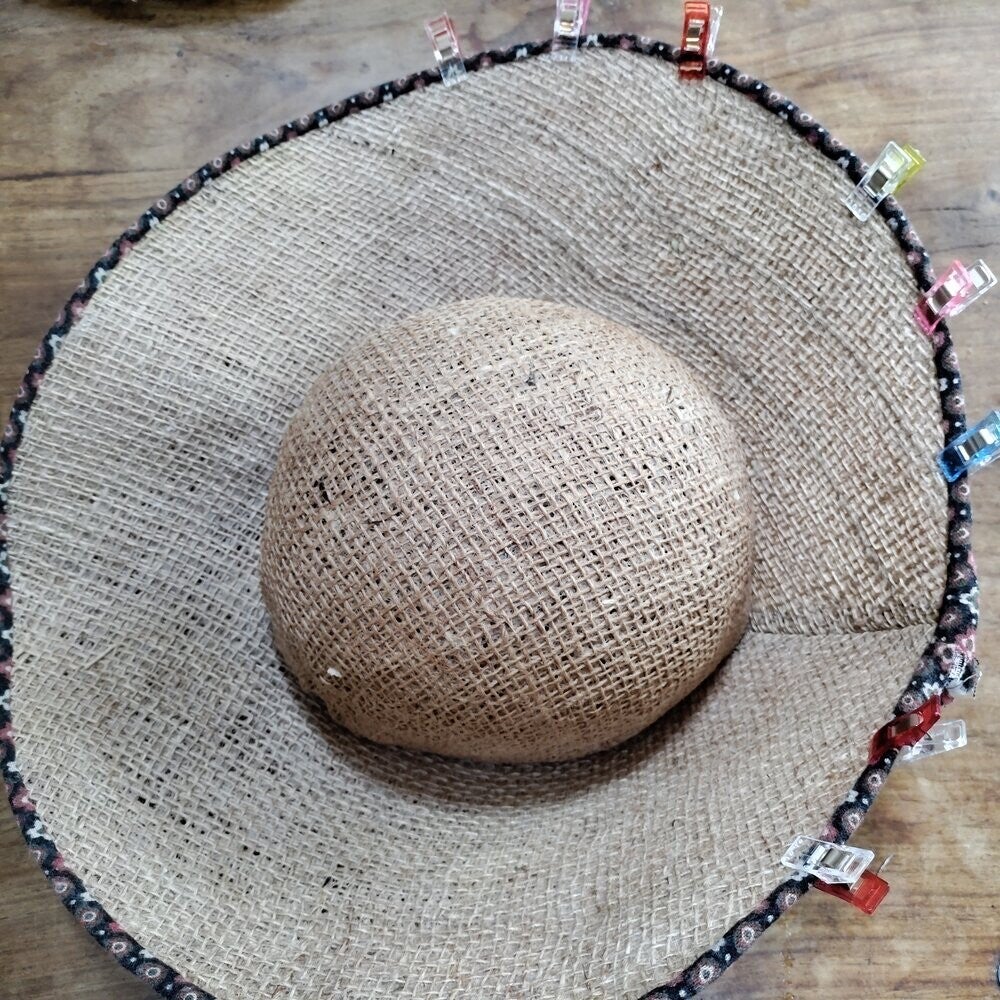
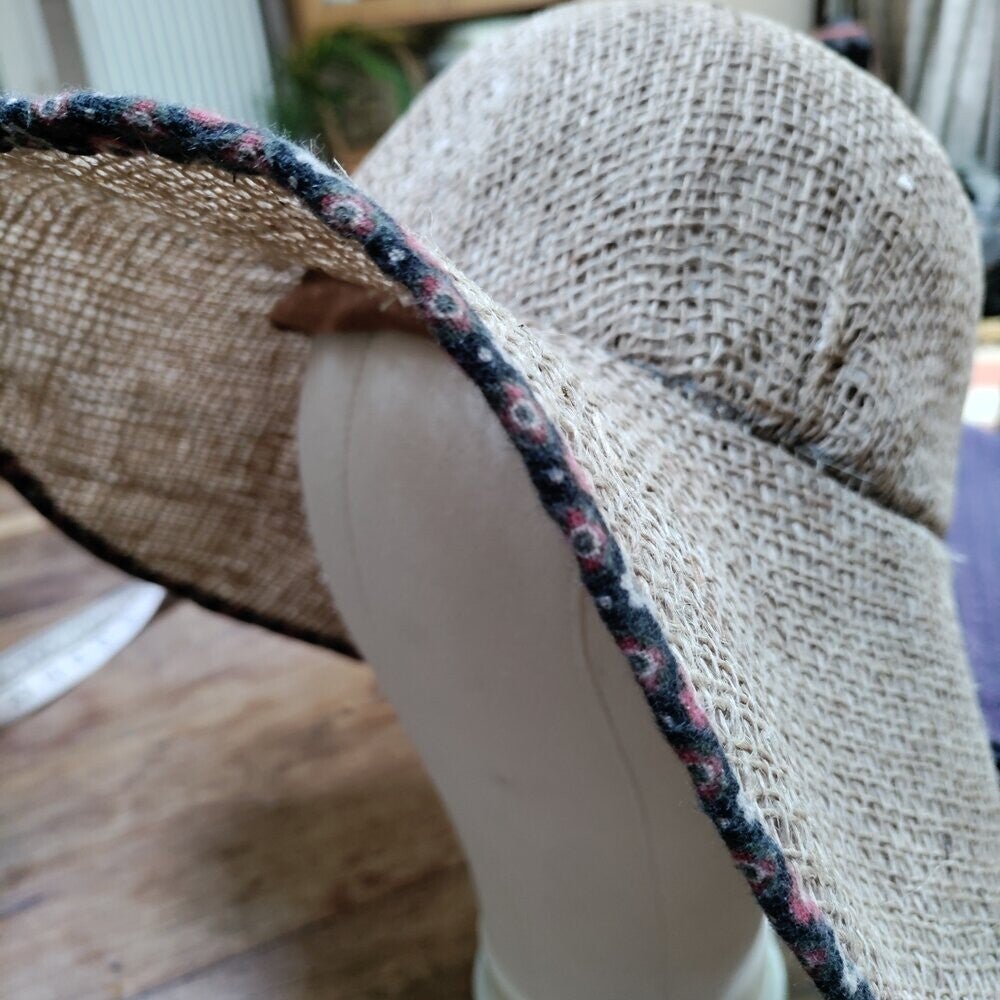
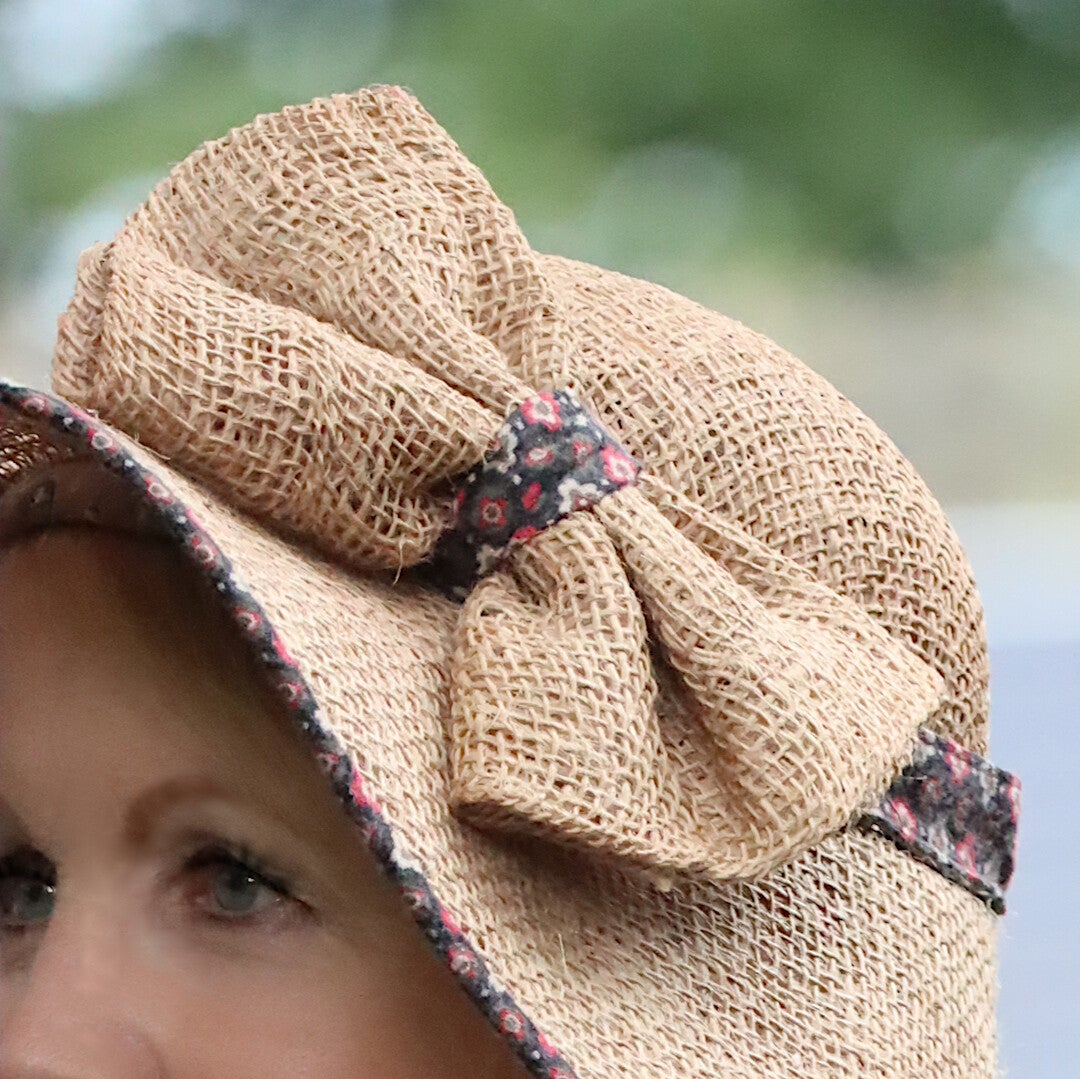
Finally, carefully turn the hat right side out, finish the edge with bias binding, and add your favourite decoration.
More Crafting Than Sewing
Reading these steps may make the project sound easy.
In reality, hat making is full of experimenting, adjusting and trying again. There is much more handwork involved than most people expect.
Fortunately, burlap is a wonderful material to work with. Even after it has been shaped, you can still gently persuade it into the form you want.
That is why I often say that hat making is more crafting than sewing. It is all about finding the perfect shape, choosing decorations that suit the design, and creating the right balance. A hat should certainly attract attention, but it should never overpower the person wearing it.

From Burlap Sack to Handmade Hat
Will this burlap hat protect you from the summer sun?
Probably not very well!
But that was never its purpose.
It is a unique handmade hat, created from a material that most people would simply throw away. For me, it is another example of how traditional craftsmanship and upcycling can work beautifully together.
Every handmade hat teaches me something new, and every finished piece proves that with a little imagination—even an old burlap sack can become something special.
If you enjoy seeing how my hats and costumes are made, keep an eye on my blog. I love sharing traditional sewing and millinery techniques, because keeping these old crafts alive is just as important to me as making the finished pieces themselves.
And than suddenly in Paris!
(Thanks amazing foto-editor Jean Marc P. )

Add comment
Comments