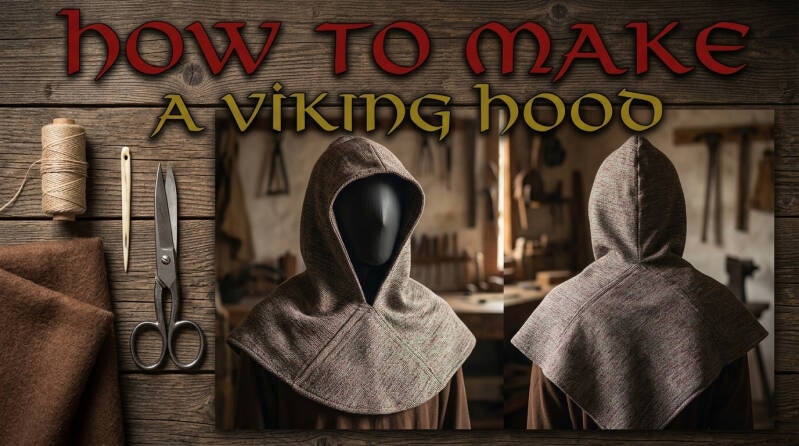
How to Make a Viking Hood
One of the questions I receive most often is how I make my Viking hoods. The good news is that they are much easier to sew than they look. Once you understand how the different pieces fit together, you'll discover that this is a surprisingly enjoyable project.
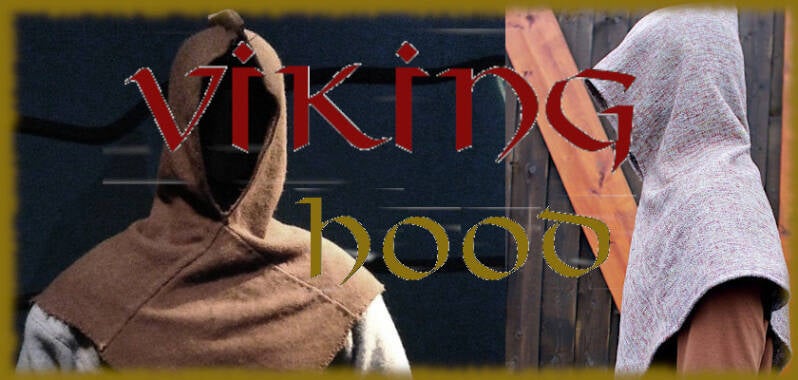
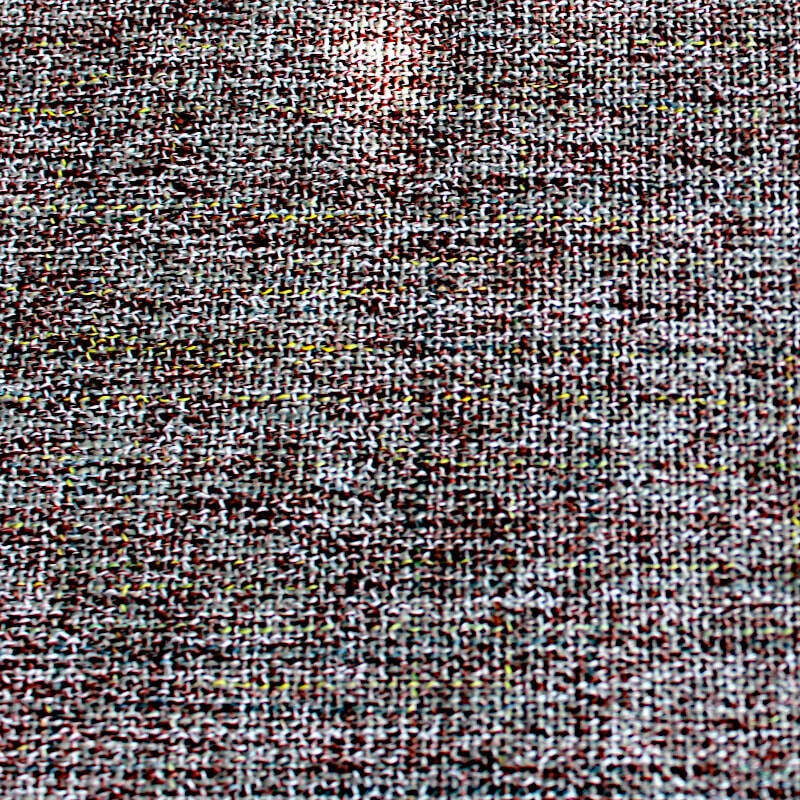
For an authentic look, I always recommend using sturdy fabrics that hold their shape well. A Viking hood should feel durable and practical, just as it would have been centuries ago. My favourite fabrics are heavy wool, wool blends, canvas, cotton twill, or even jute for certain historical projects.
If you would like to add a lining, you can either use the same fabric or choose a contrasting colour for a beautiful surprise every time you put the hood on.
What You'll Need
- Heavy wool, wool blend, canvas, cotton twill, or jute
- Matching or contrasting lining fabric (optional)
- Sewing machine
- Overlocker (serger) or zigzag stitch
- Iron
- Matching thread
Cutting the Fabric
Start by folding your fabric in half.
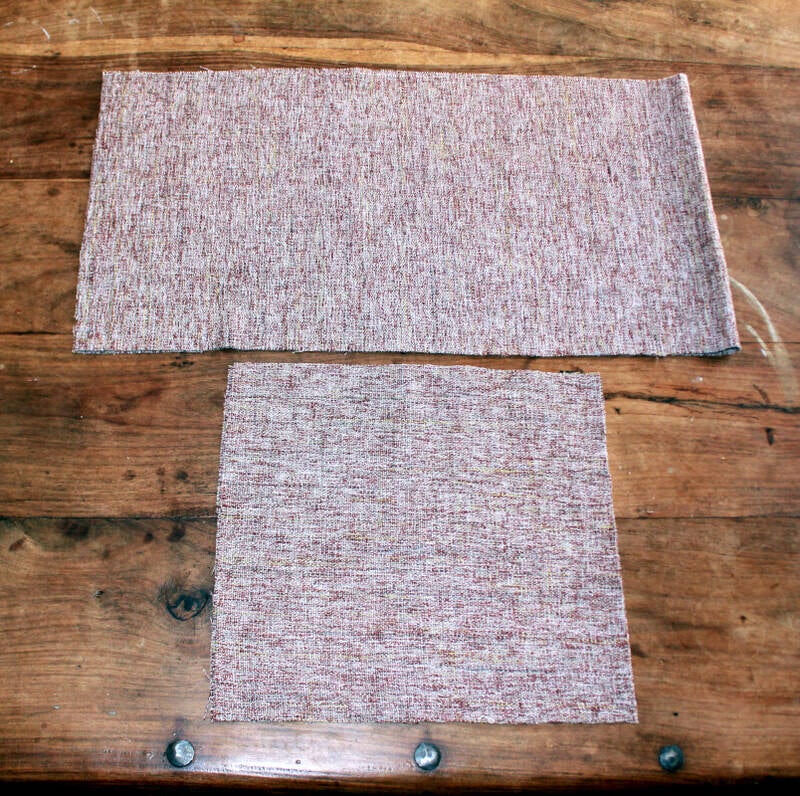
- Cut two squares measuring 20" × 20" (slightly smaller for children).
- Cut two rectangles measuring 20" × 40".
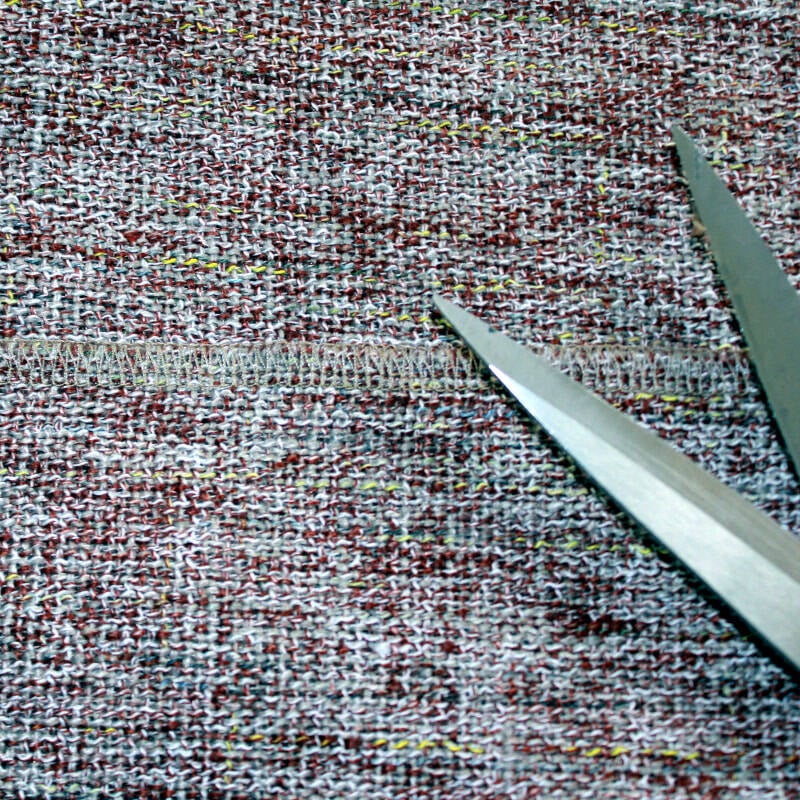
- Finish all raw edges with an overlocker or a zigzag stitch to prevent fraying.
Sewing the Viking Hood
- Place the two long rectangles right sides together and sew them together along one of the short edges.
- If you like, round off one corner before sewing. This creates a smoother curve at the back of the hood.
- Starting from the newly sewn seam, stitch the back seam from the top down, stopping approximately 10 inches before the bottom edge.
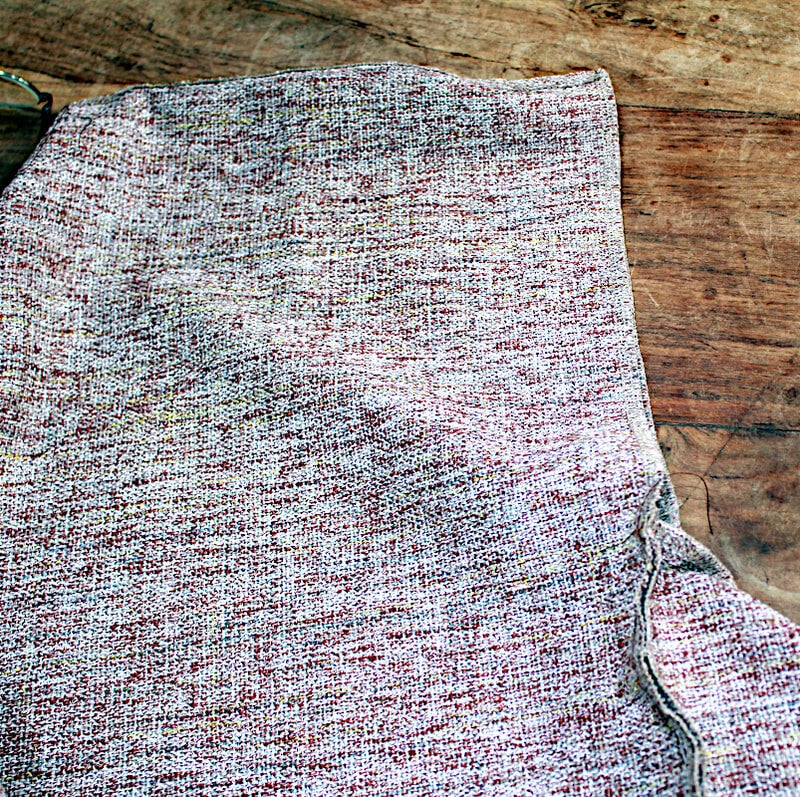
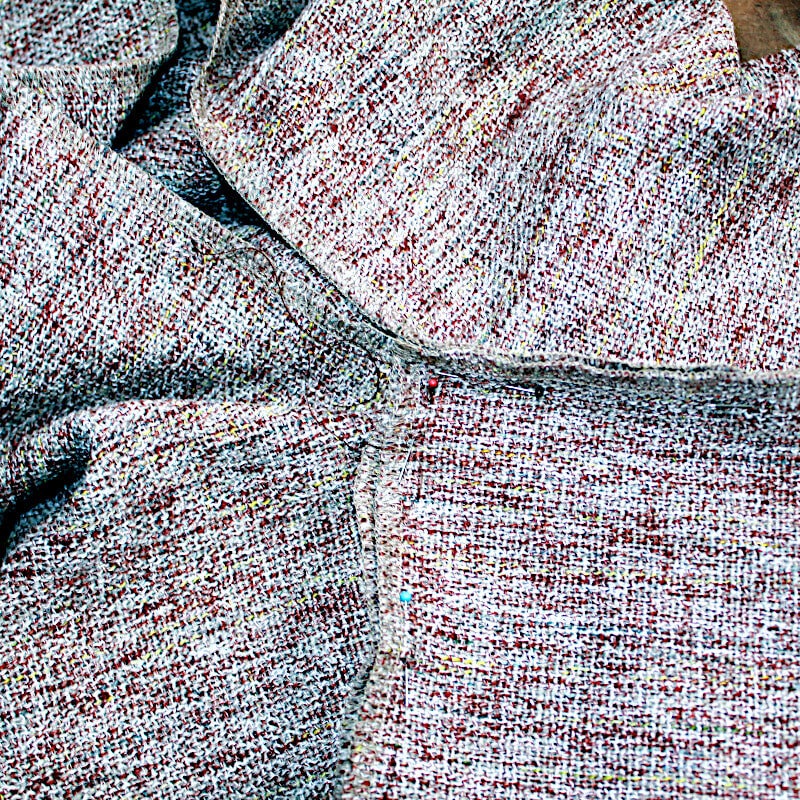
- Attach one square to the bottom by folding the corners into small triangles as shown in the photos. Repeat this step for the opposite side.
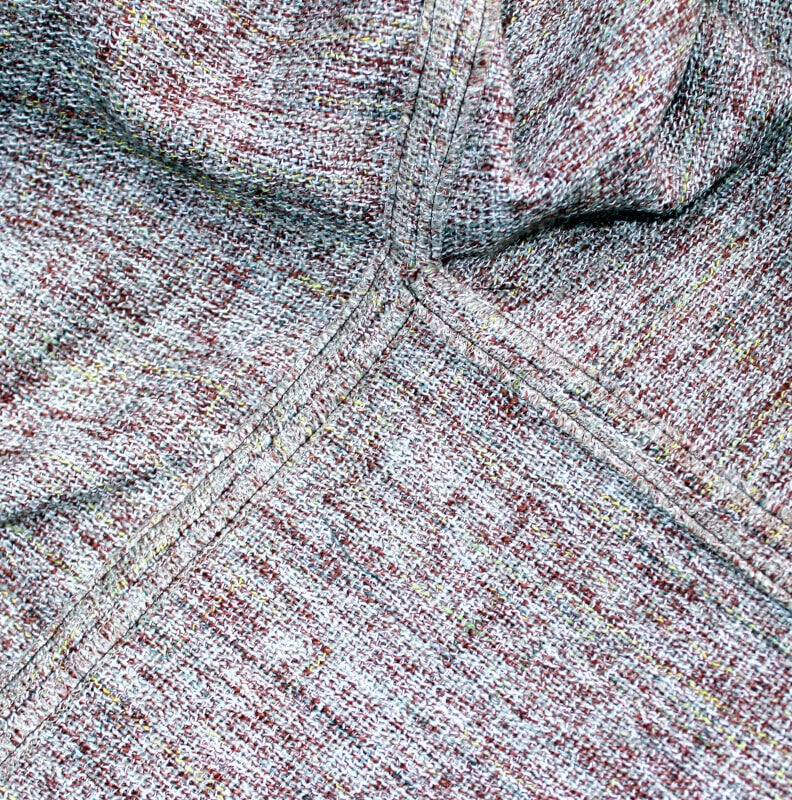
- Take your time where the triangles meet the side panels. This is the trickiest part of the construction, but a neat finish makes all the difference.
- Press all seams open.
- If necessary, reinforce the inside where the triangles meet.
- Hem the lower edges and trim away any loose threads.
If you would like to line your hood, simply make a second hood in exactly the same way.
- Place both hoods right sides together.
- Sew around the outer edge, leaving the face opening open.
- Turn the hood right side out.
- Press all seams carefully.
- Hand stitch the seam allowance around the face opening for a clean finish.
- Decorate the edge with braid, trim, or another decorative finish if desired.
- For extra warmth, you can finish the face opening with faux fur or a heavier contrasting fabric.
My Sewing Tips
Whenever I design a new historical garment, I almost always make a practice version first. I recommend doing the same for your Viking hood.
Use inexpensive fabric or leftover scraps and even make a scaled-down version if you want to understand the construction before cutting into your final fabric. It is a wonderful way to see how the pieces fit together without worrying about making mistakes.
If this is your very first Viking hood, I also suggest sewing it without a lining. You'll learn the construction much faster, and adding a lining later will feel much easier.
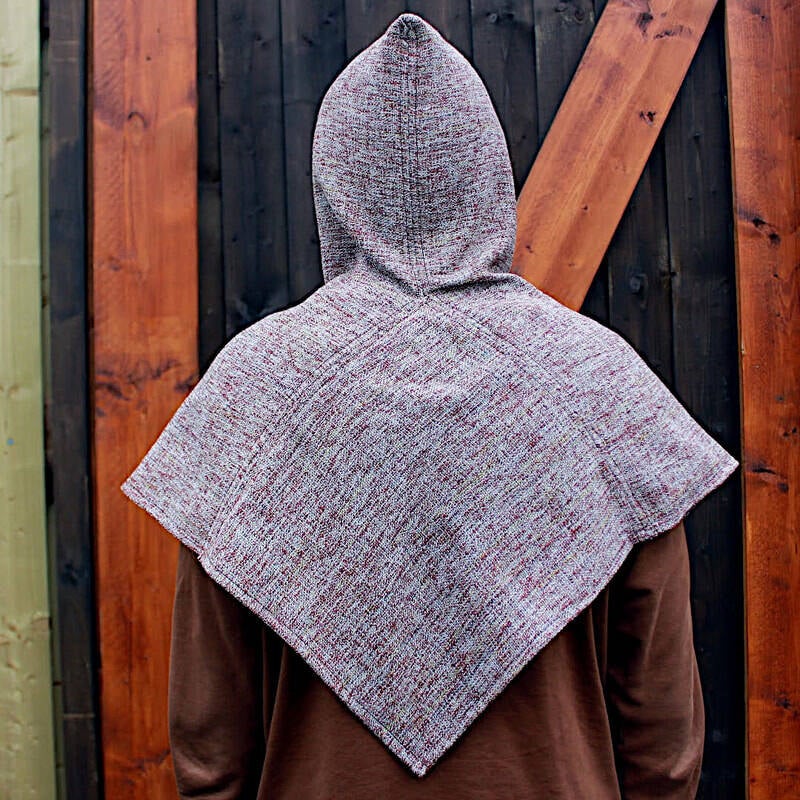
Finally, pay extra attention to the triangular corners where the front, back, and side panels meet. Trim away excess seam allowance after sewing and press everything carefully. This prevents bulky seams and gives your finished hood a much smoother, more professional appearance.
Once you've made one Viking hood, you'll probably want to sew another. They are comfortable to wear, surprisingly simple to construct, and a perfect project for anyone interested in Viking, medieval, LARP, or historical clothing. Happy sewing!
Add comment
Comments